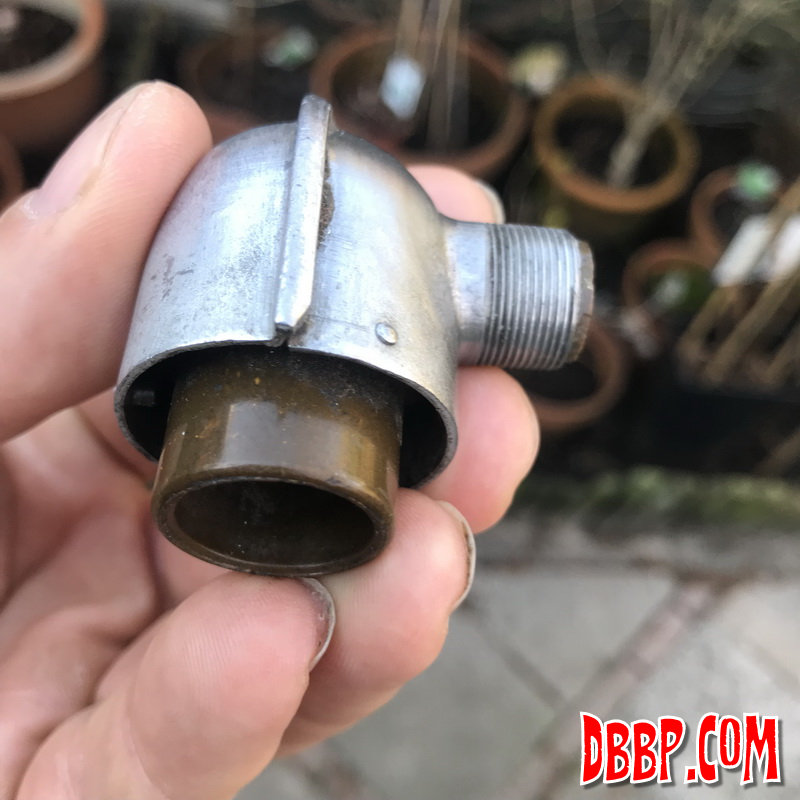
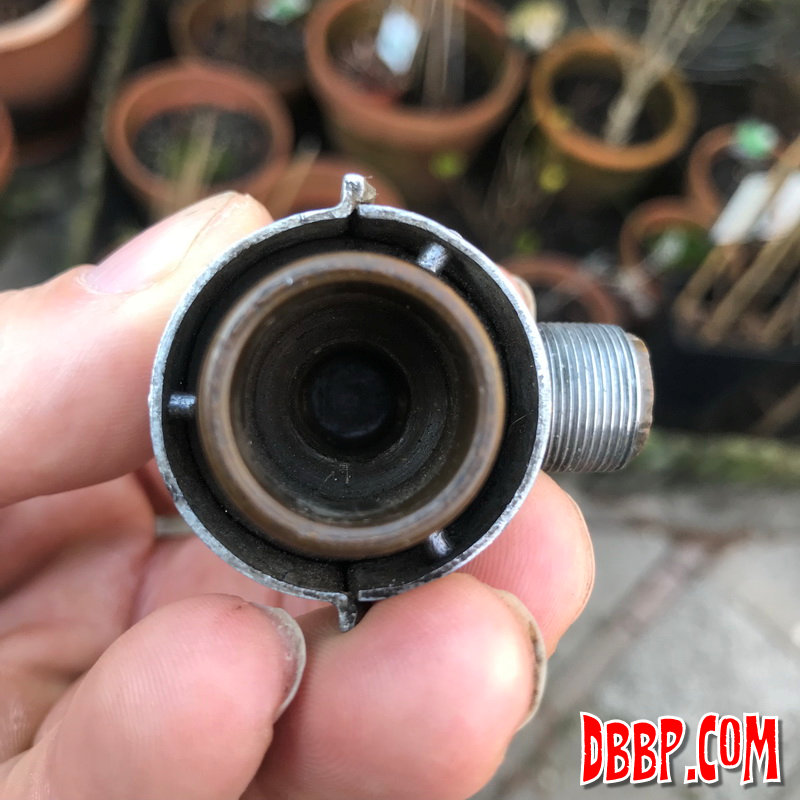
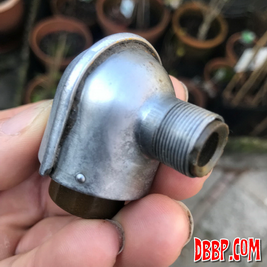
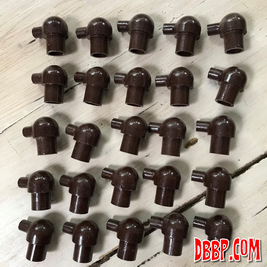
Part 2, Shield and Insulator, Spark plug 32070-42
The next part was quite interesting to make, it
had a bakelite insulator clamped between 2 thin steel shells.
3 little pins fit in the bayonets on the lower shield and the
fine threads go on the HT lead. I started by learning everything
I could about Bakelite, quite interesting stuff! The 4 pictures
below are of a very, very rare original Harley XA Shield, this
was my example. |


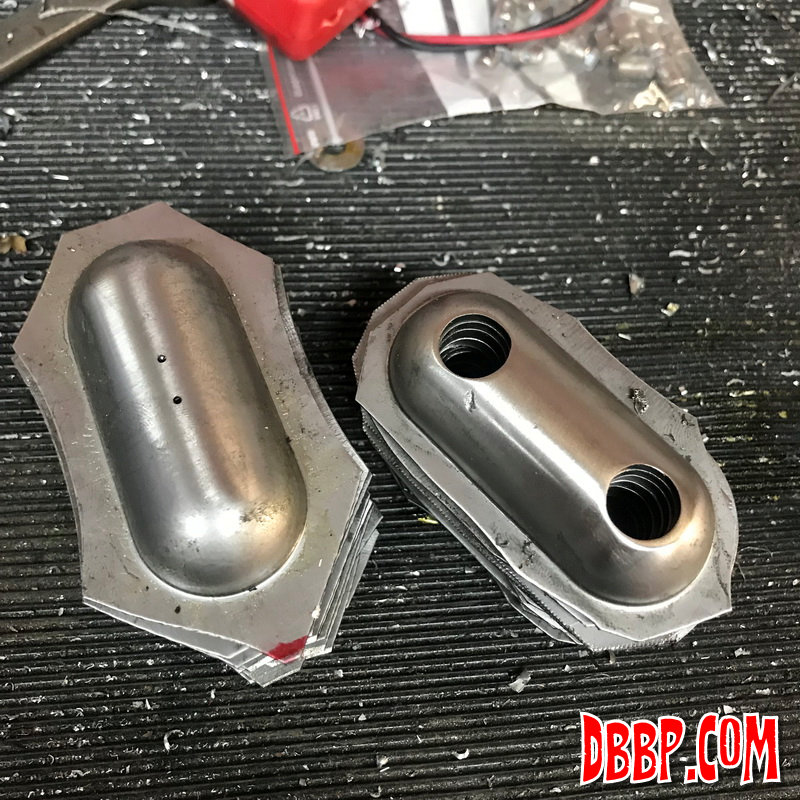
I ended up having the insulators CNC machined
from a solid sheet of Bakelite and started with all the tools
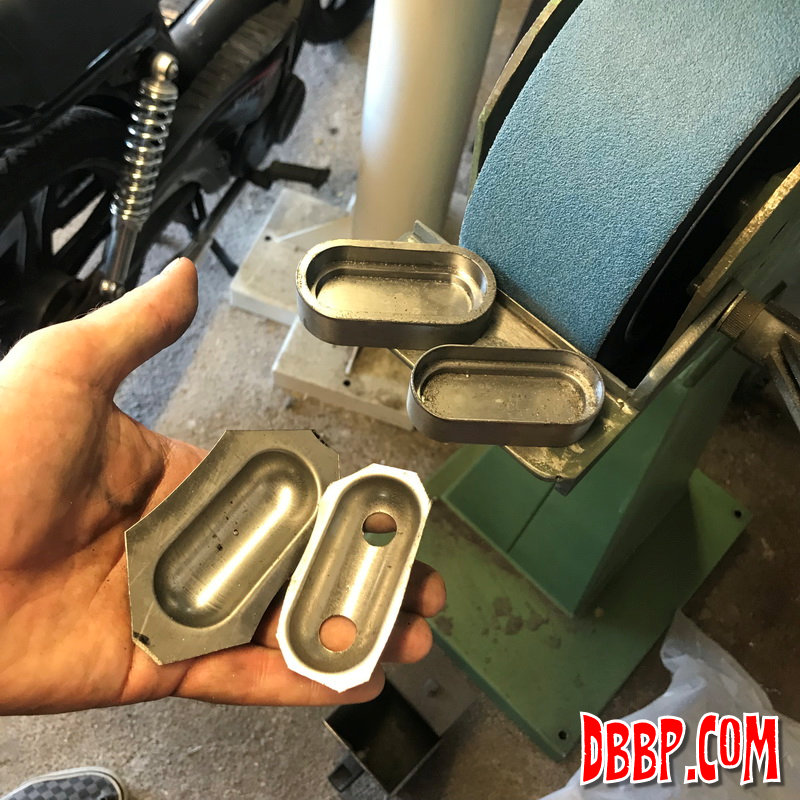
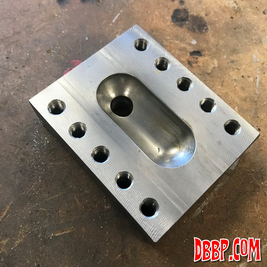
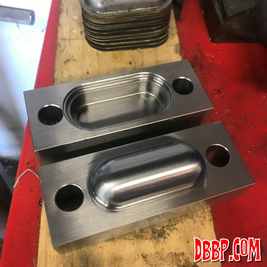
needed to make the steel shells. I started by cutting about 30
rectangular pieces of stainless steel and pressing the first stage
using a hydraulic press and a bathtub shaped female die that would
double as a drill guide later. |


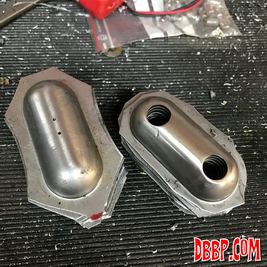

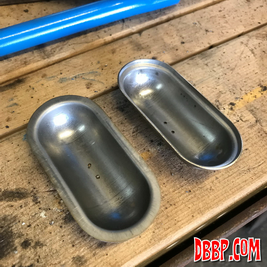
After pressing, the bathtub shape still had a big flap that
needed to be removed, so after cutting off the corners with a
nibbler, I made 2 sanding dies and a new lowered support on my
beltsander so that I could remove the excess material in a precise
way |
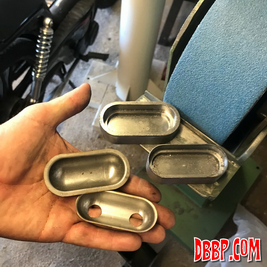

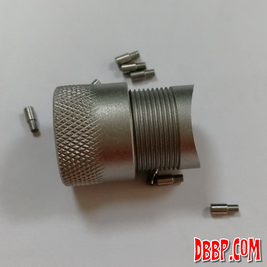
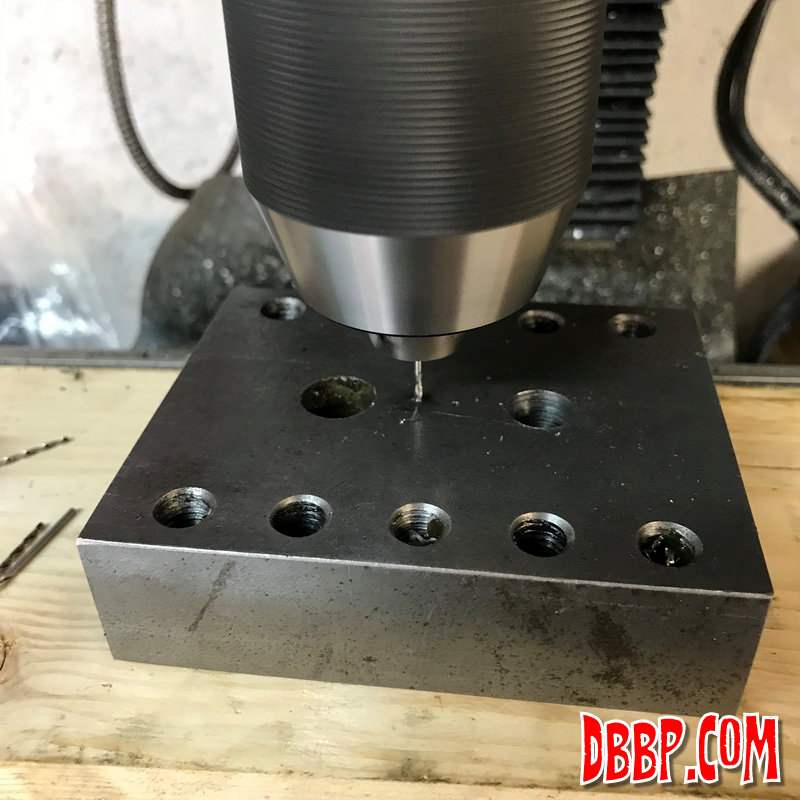
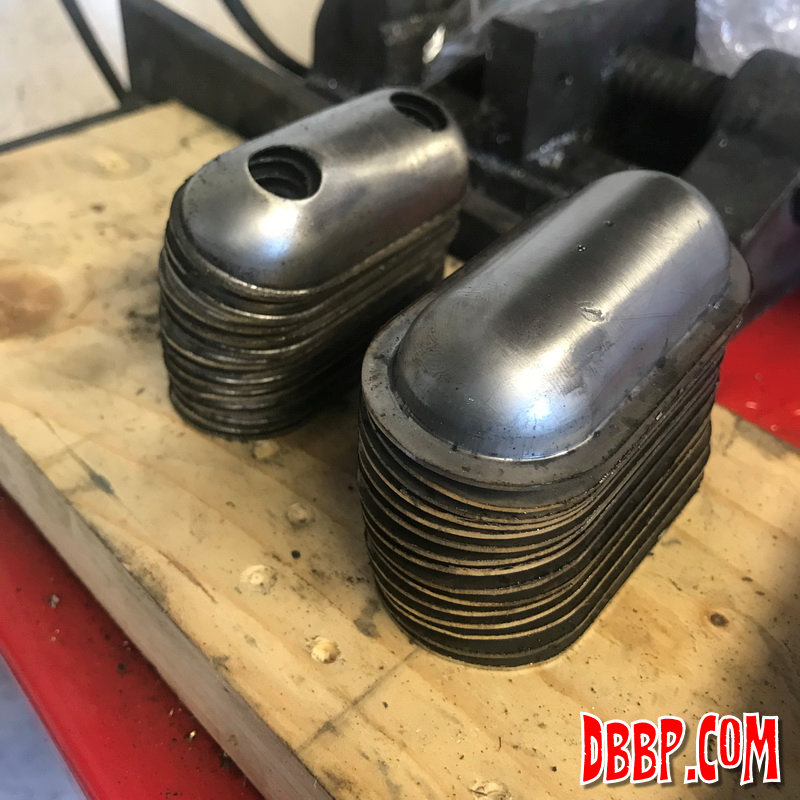
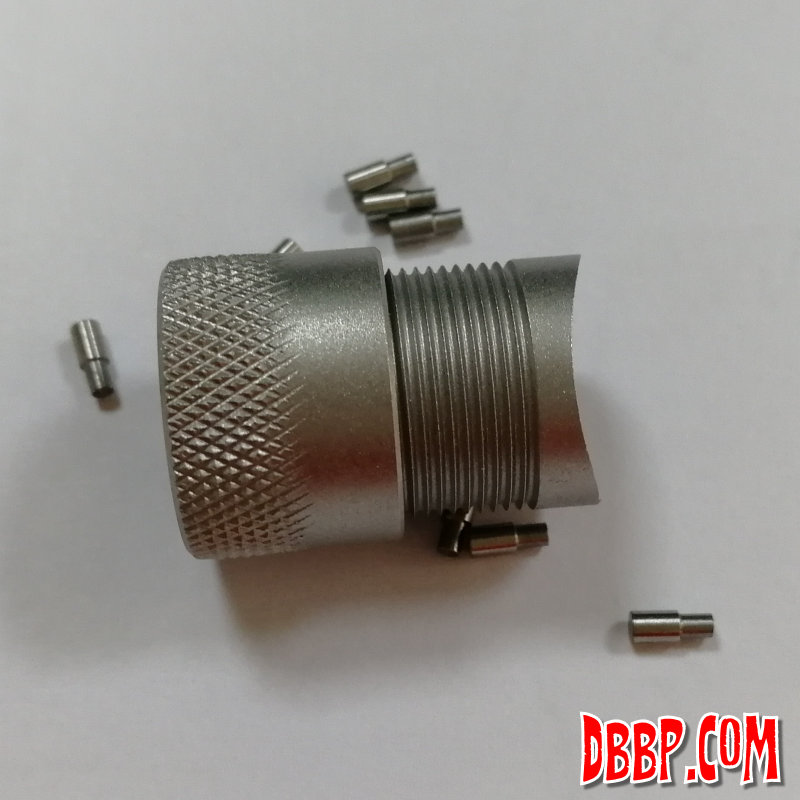
The threaded connectors and small pins for the bayonet were
all CNC machined, and so was the next set of tools that are designed
to fold the edge of the shield. I made a brass tool to position
the threaded part to the shield for TIG welding, this same tool
is also used as a drilling jig for 2 of the small holes for the
pins. |


Using a steel frame and a 12 Ton car jack I folded the edges
of half of the shields 90 degrees. Later when the welding is done
and the pins and insulator are installed, the edge will be folded
all the way around the edge of the other shield. |
|