Copyright WWW.DBBP.COM | updated 4-March-2024


Part 11, The next batch!


The next steps in fabricating the 1942 Harley XA Upper sparkplug covers is to begin shaping the edges of the "bathtubs" and drill all the little holes for the 3 pins that form a bayonet to connect cit to the lower sparkplug cover. If you are wondering why these sparkplugcovers seem so overengineered, they were intended for use on military motorcycles and this was to prevent them from causing interference on the radios. I was able to re-use the press dies and drill jigs I made 5 years ago when I did my first batch.


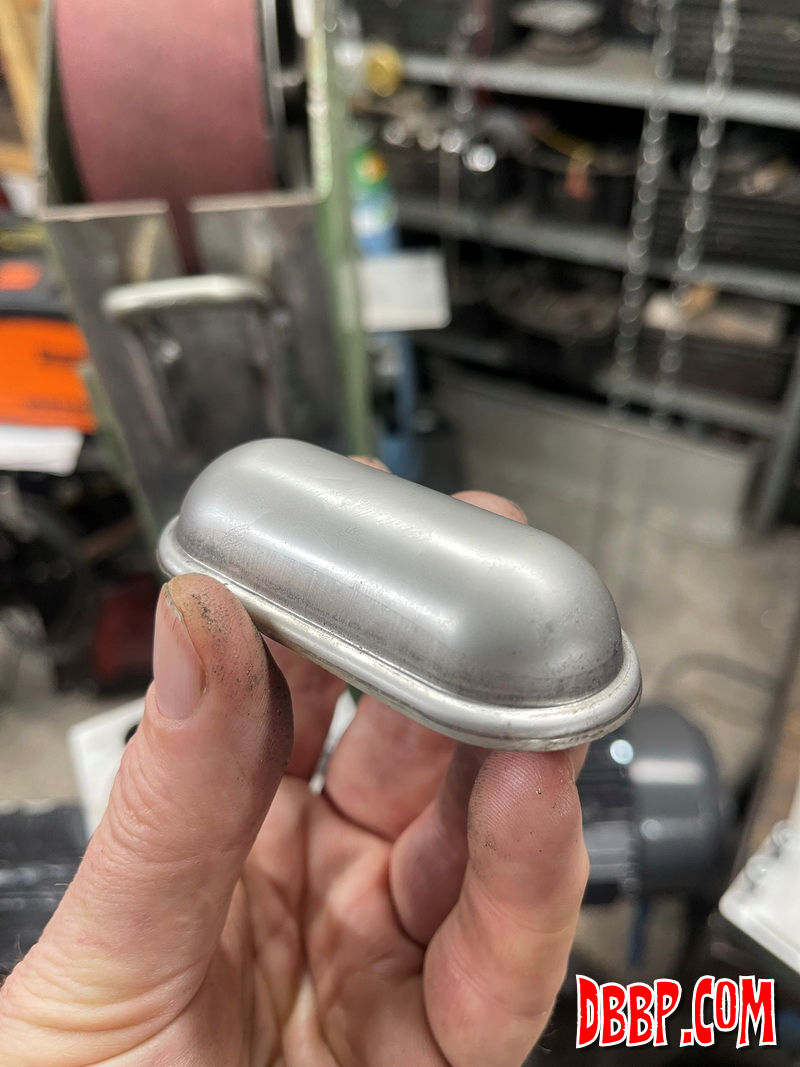
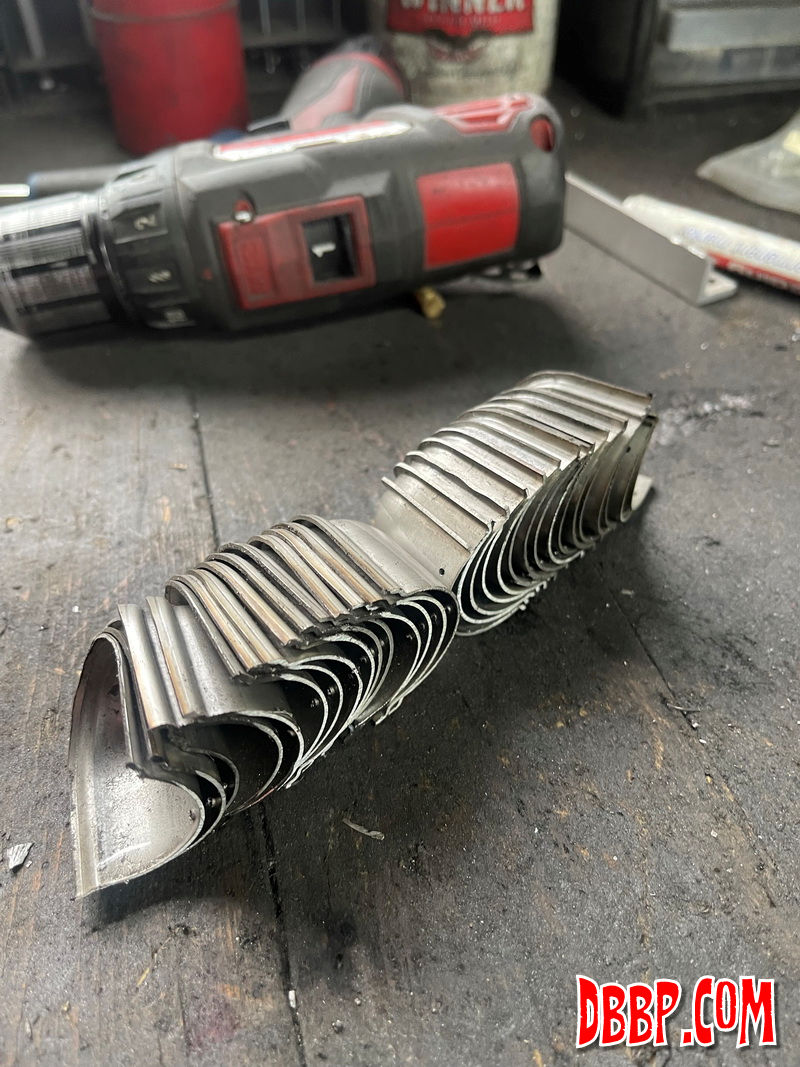
After completing these steps the 
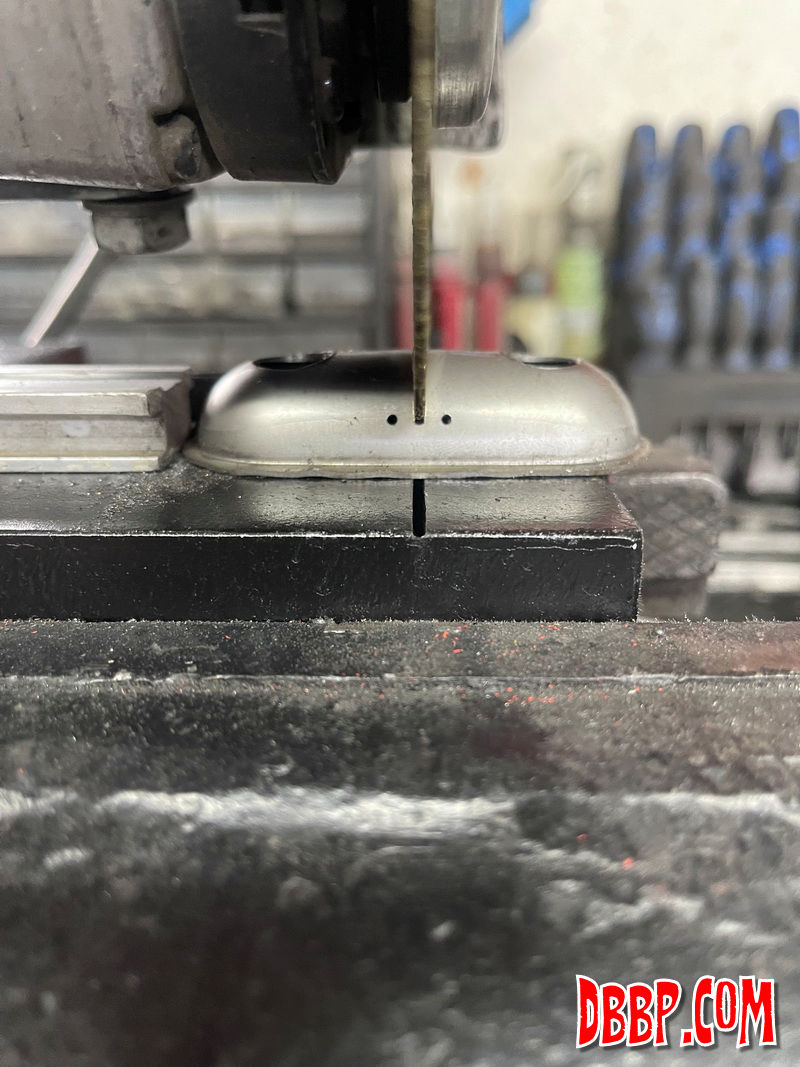
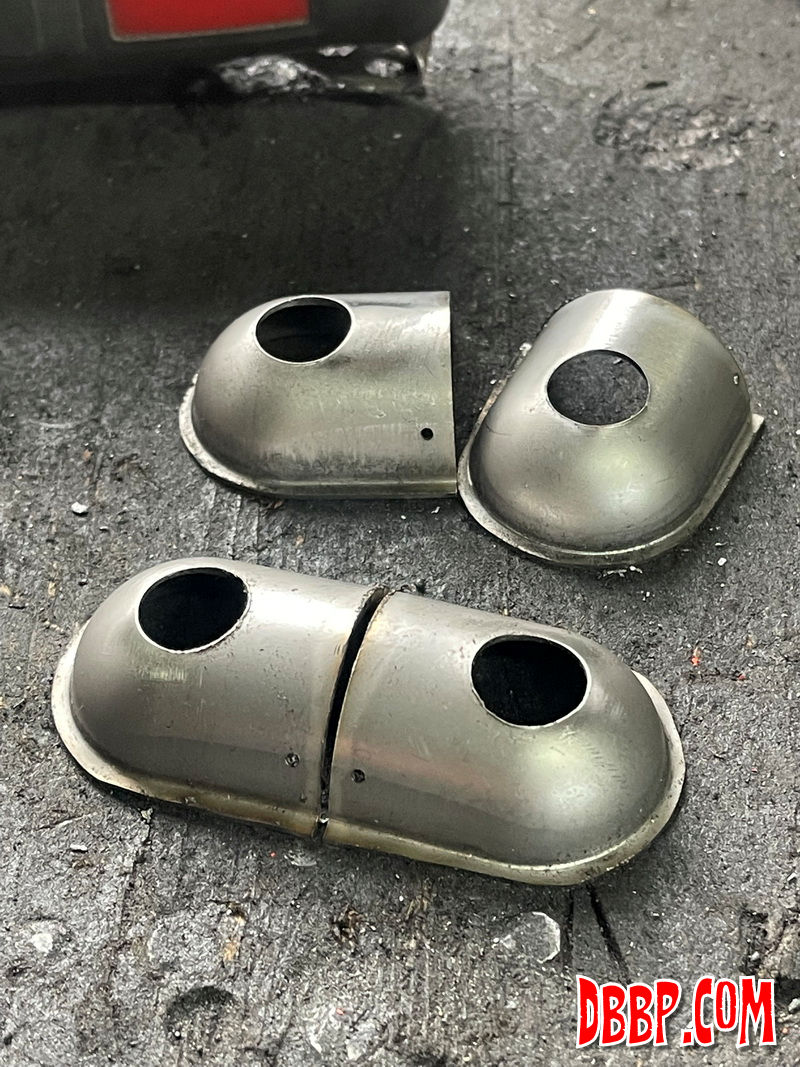
next step was to cut all the "bathtubs"in half, which was a bit of a pain in the ass last time, as the metal is thin and the parts are difficult to hold in place accurately during cutting.

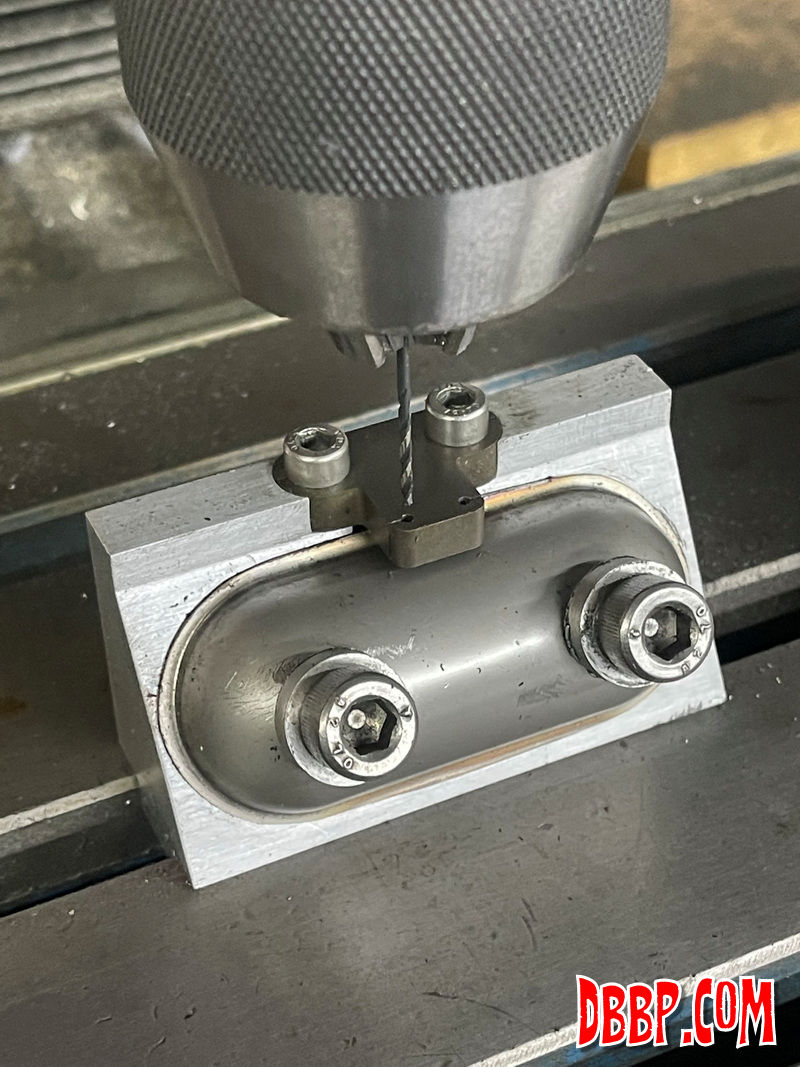
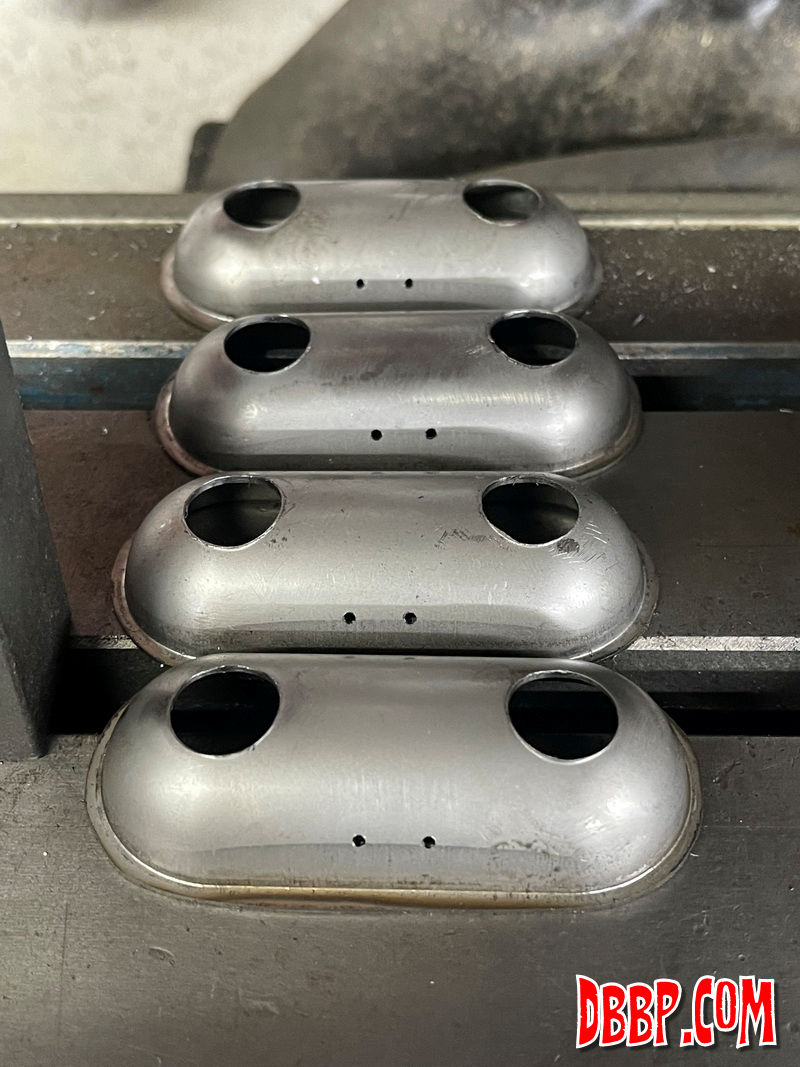
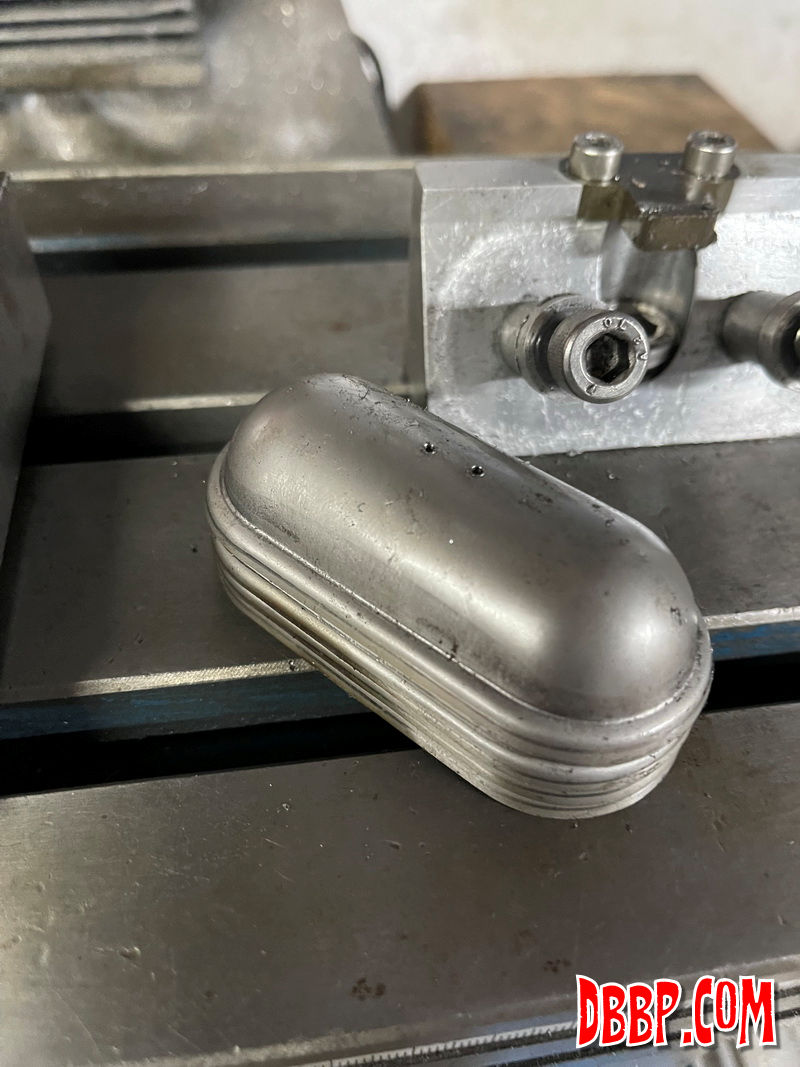
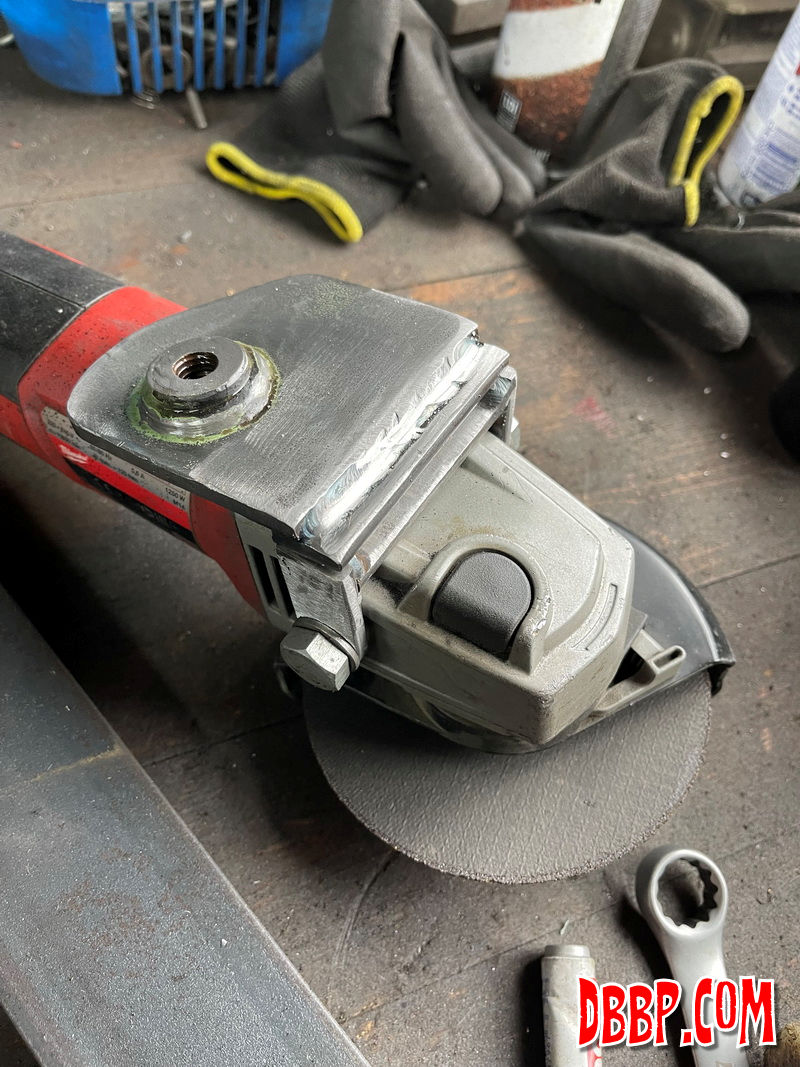
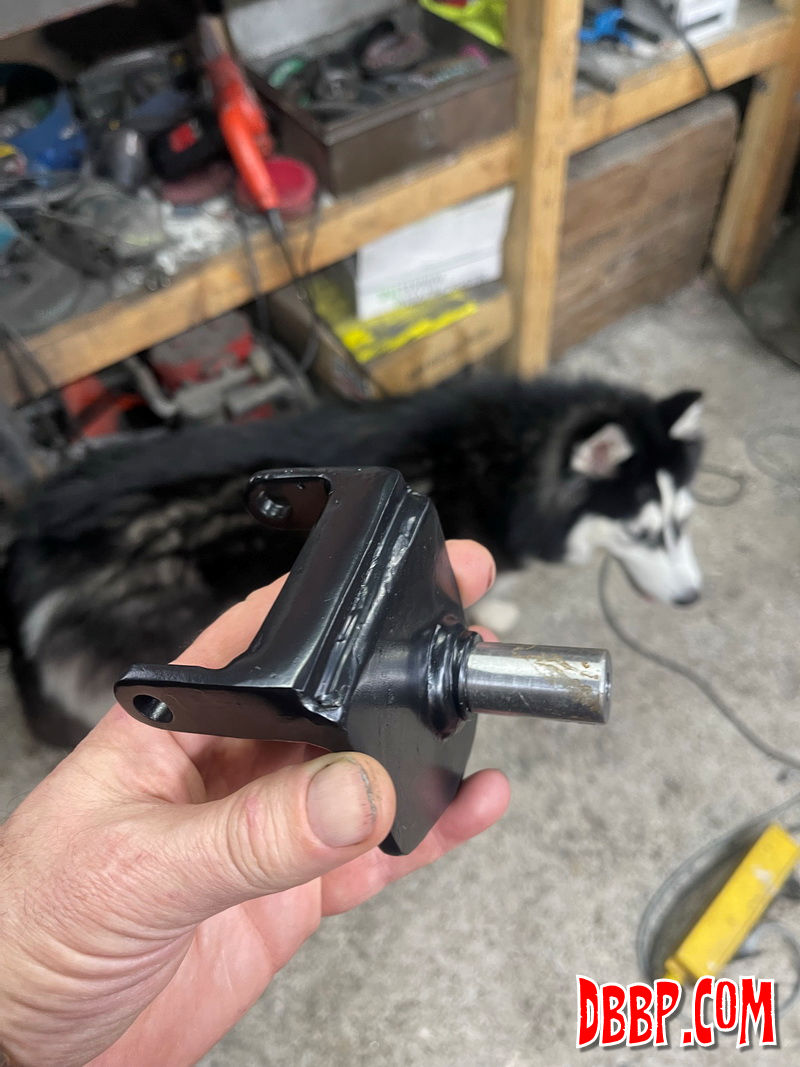
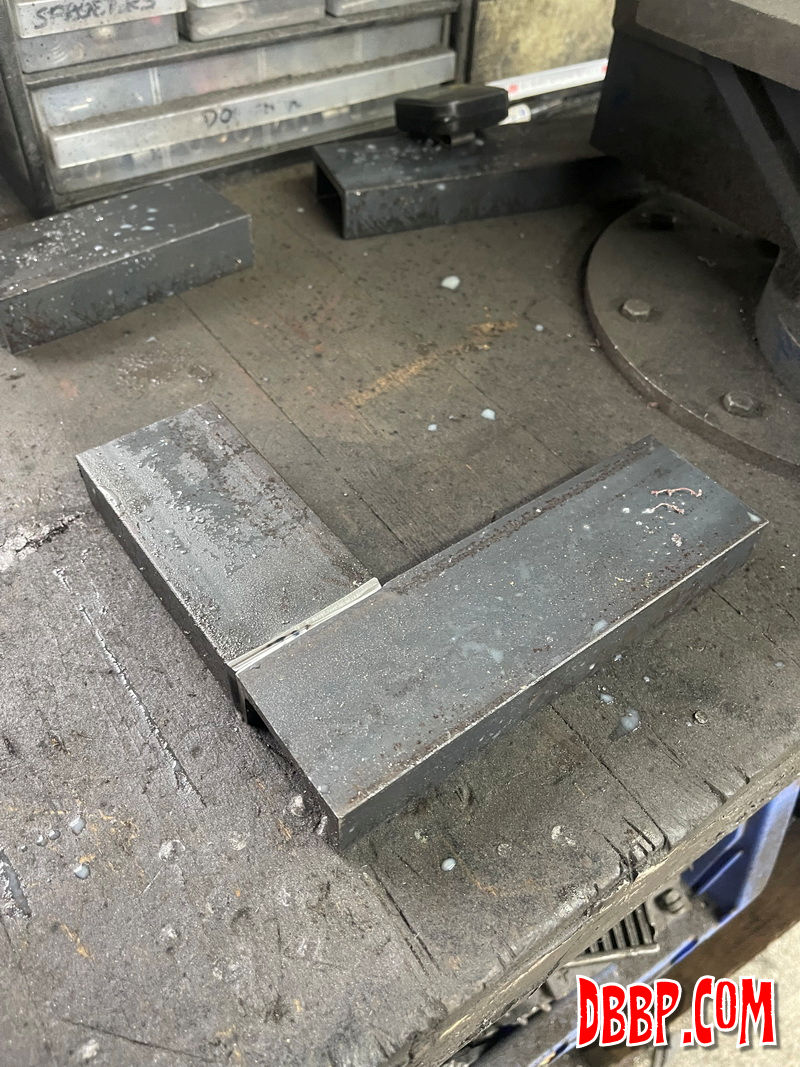
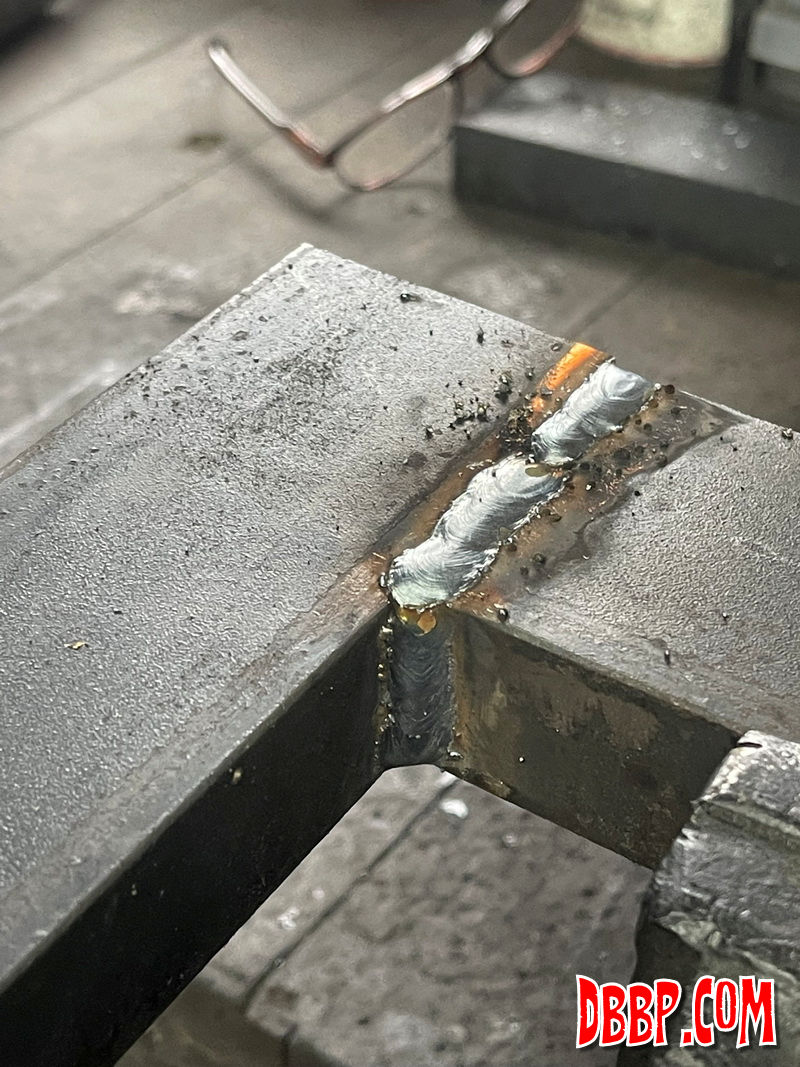
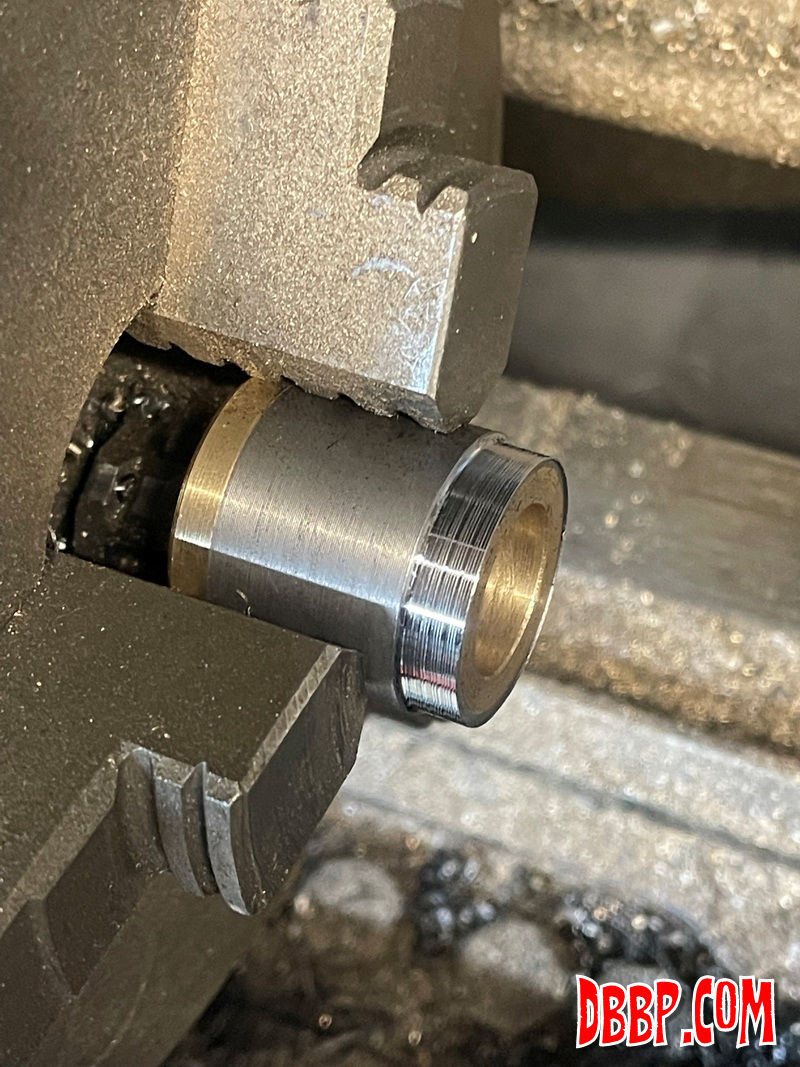
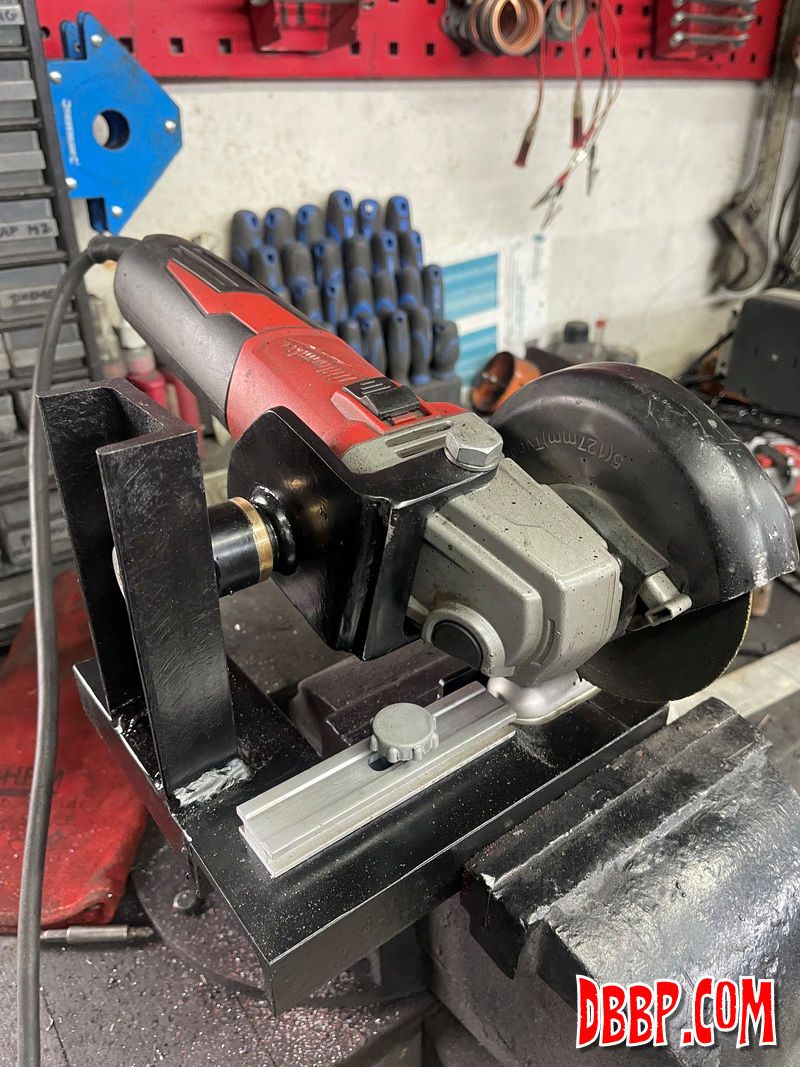
I decided to invest an afternoon in making a special tool, and once that was done it was only a matter of minutes to cut all the parts. I used metal that I had lying around in the workshop, did not need to buy anything!


Basically it is just a Milwaukee angle grinder fixed to a pivot and with an adjustable stop to center the parts in the correct position.


I machined a bronze bushing for the pivot, maybe a bit overkill for these low production numbers but I had a leftover piece of bronze that was perfect for the job.


With the grinder in place I first made a cut into the support frame, this helps a lot with lining up the parts visually, the idea is to cut them exactly between the little holes I drilled earlier.


In the meantime the threaded bungs have been machined and are being welded to the upper shields


Previous