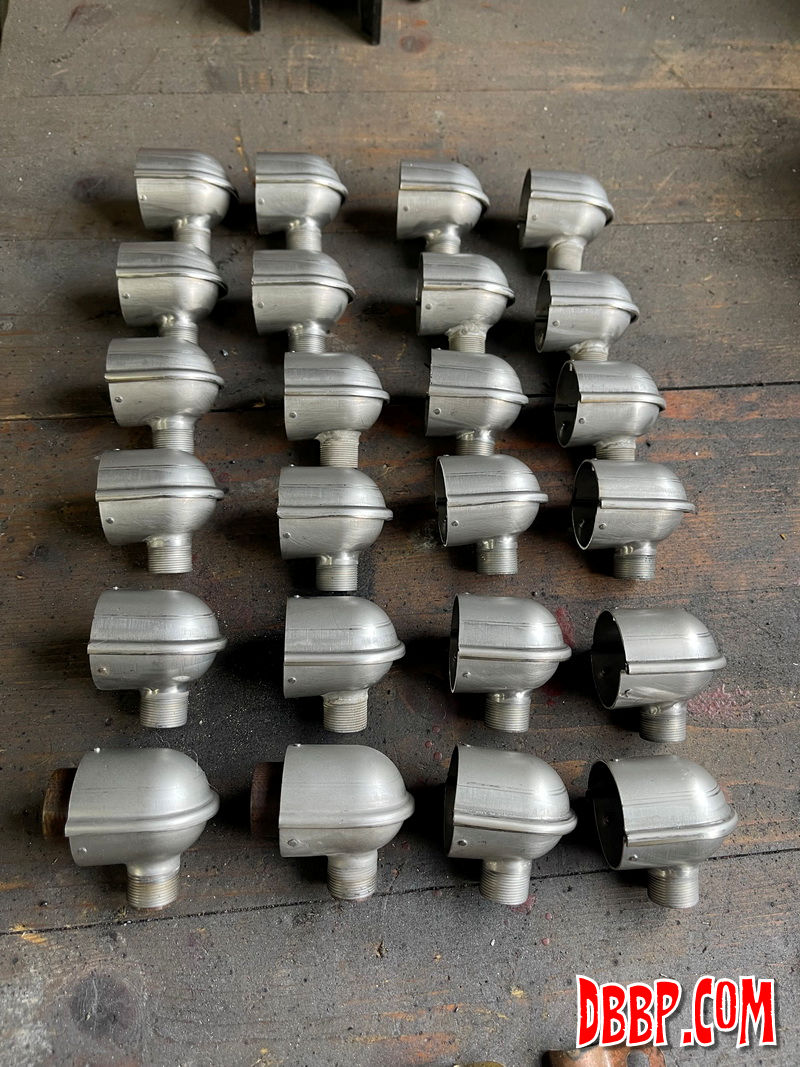
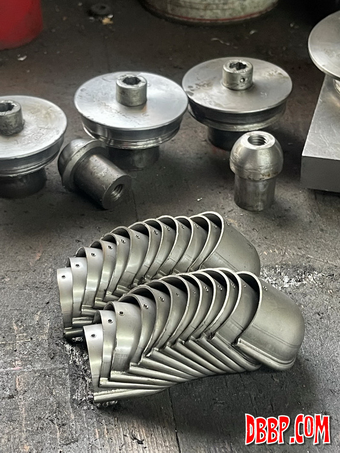
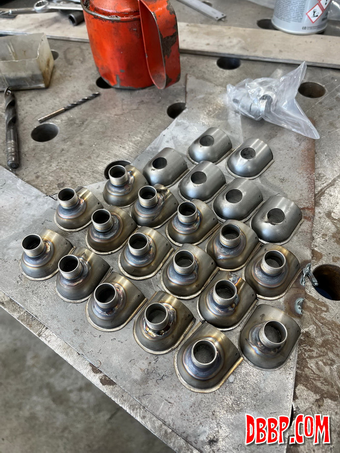
Part 12, The next batch!
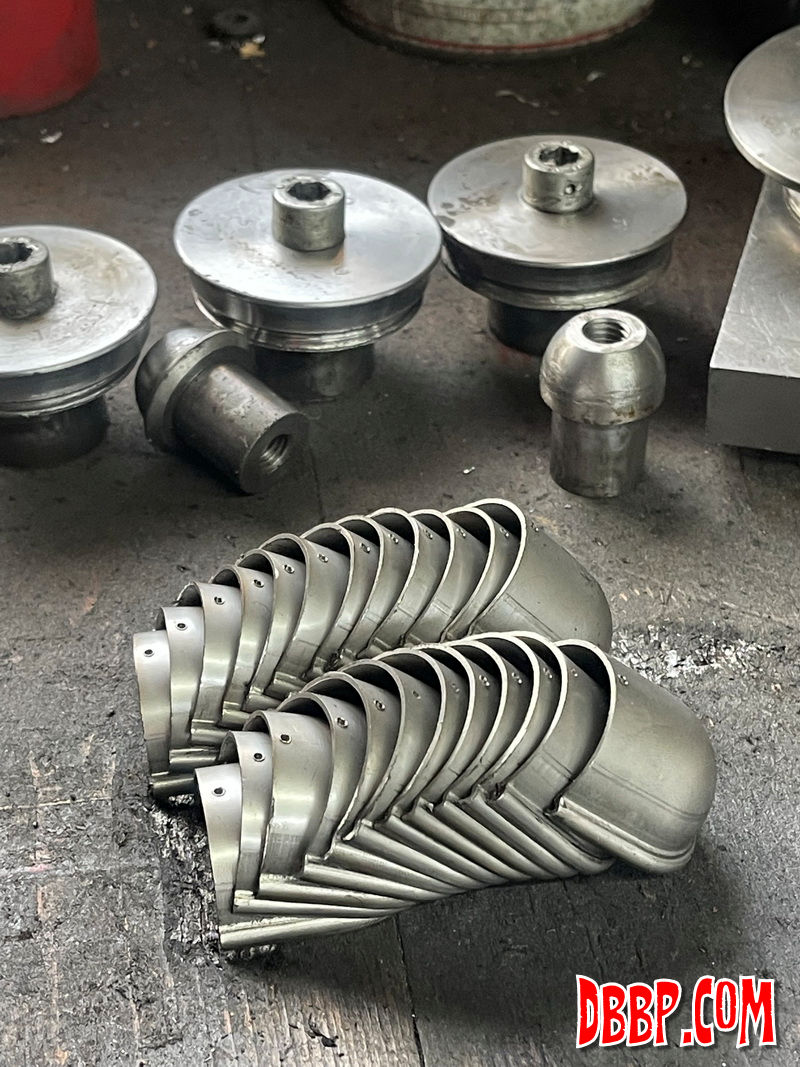
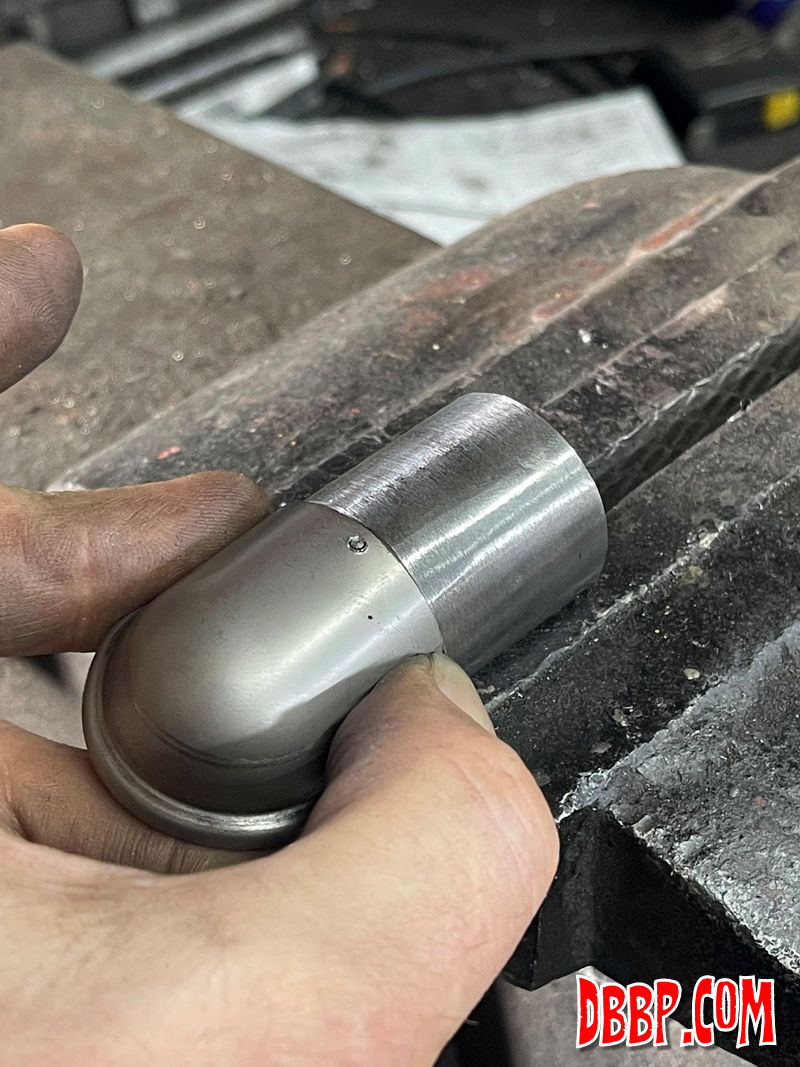
To get the U-shaped edge in the top part of the
Uppers was the most tricky, I had figured out how to do it with
the previous batch but the unhardened tools had worn out. Ofcourse
I still had the CAD so I had a new set of tools machined and this
time hardened. |

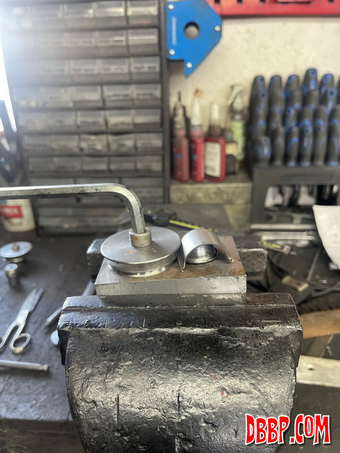
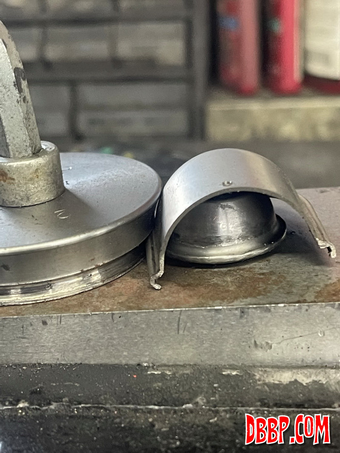

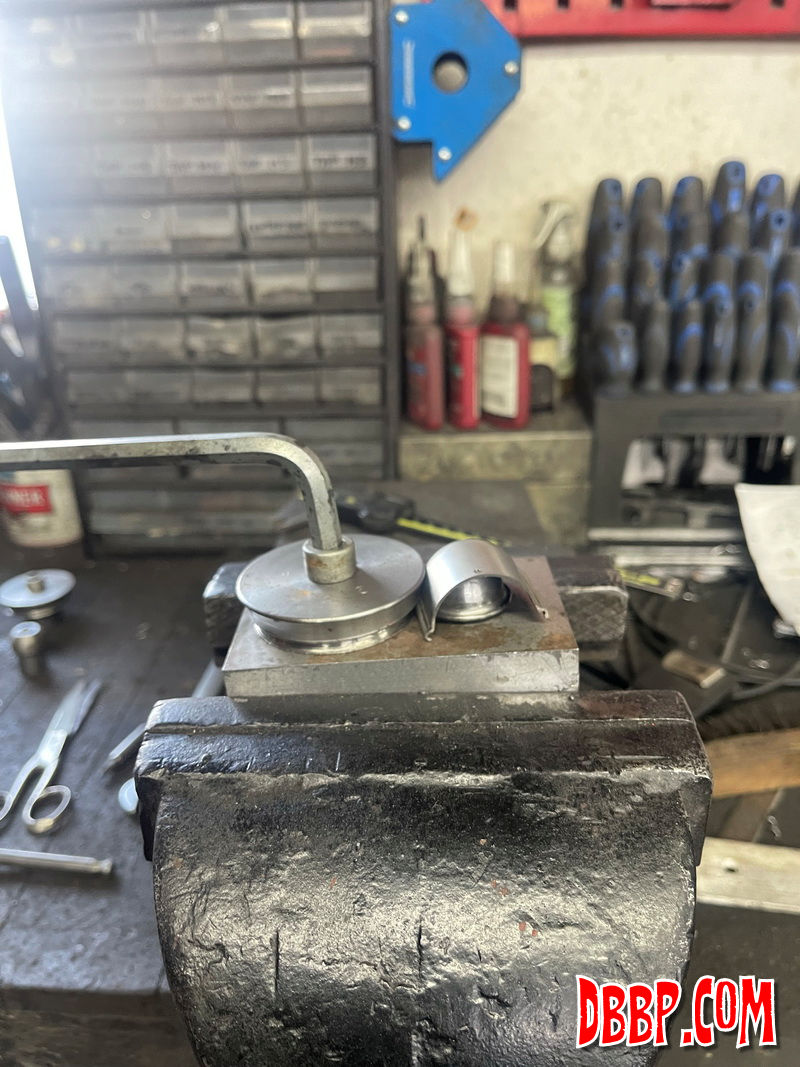
Basically it is a little beadroller
with several sets of wheels, each set turning the edge over a
bit further.
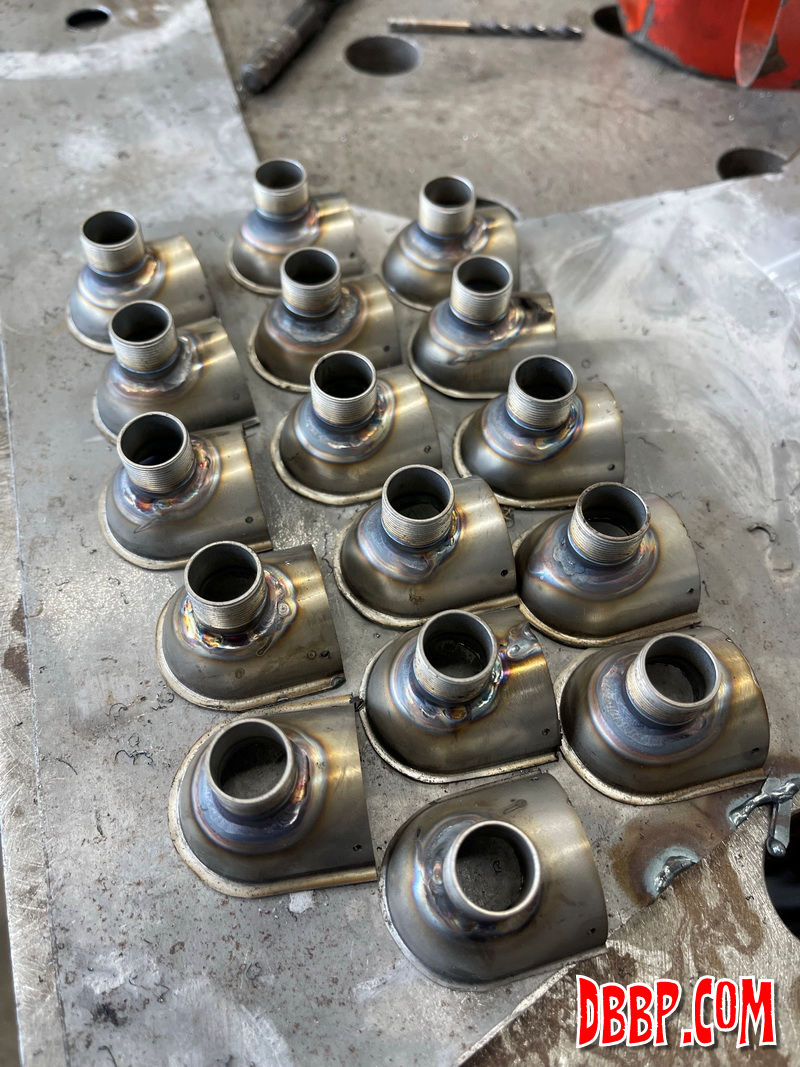
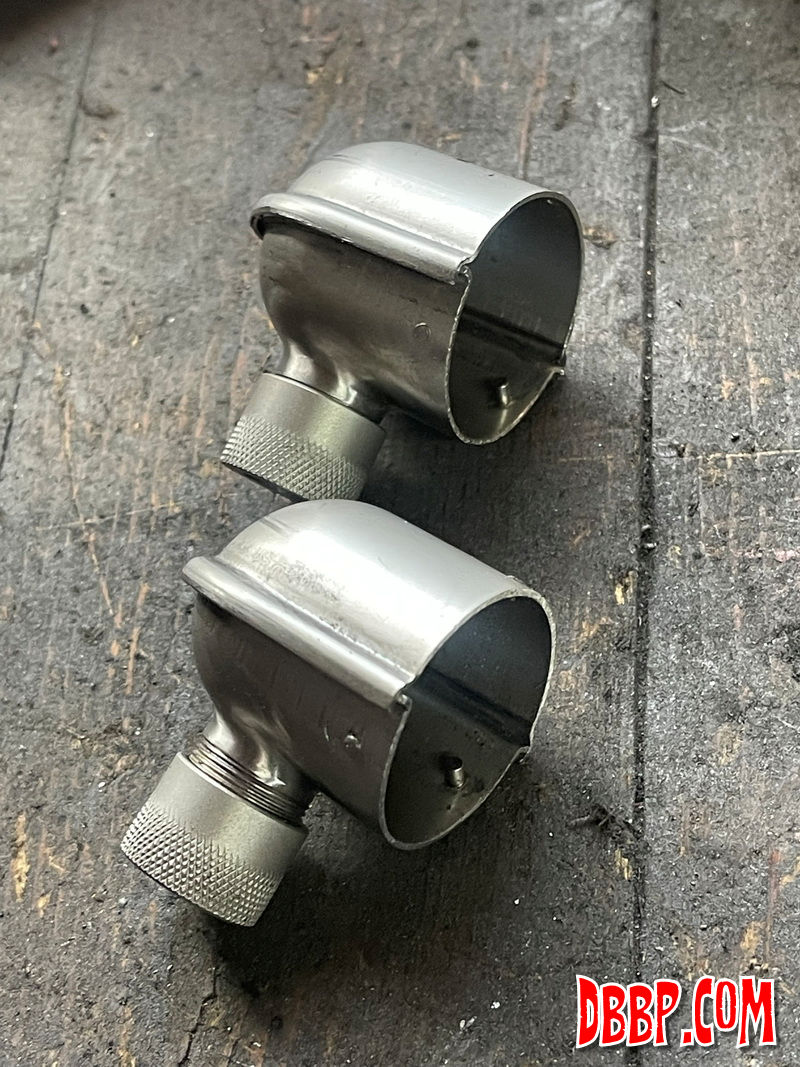
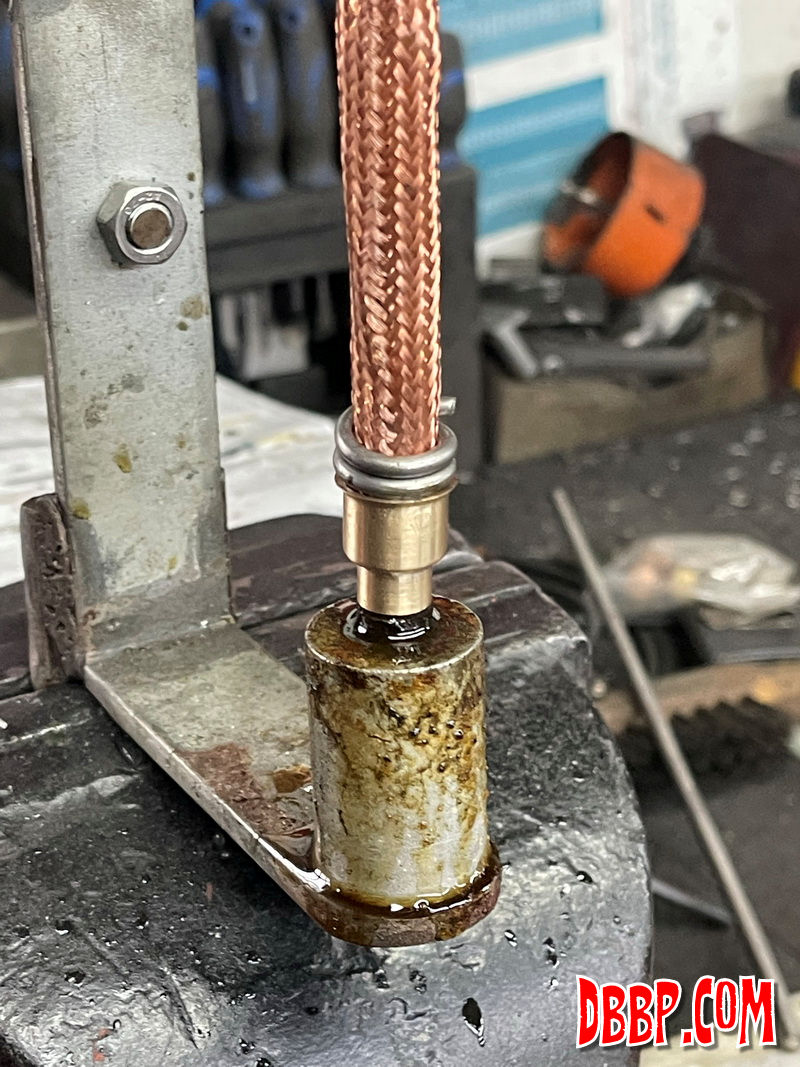
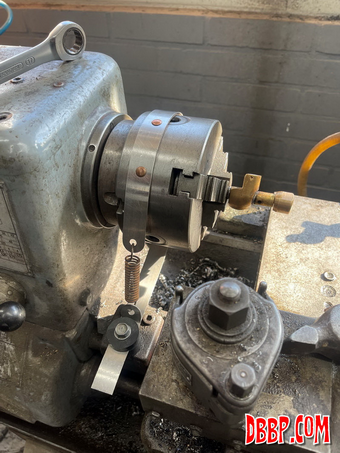
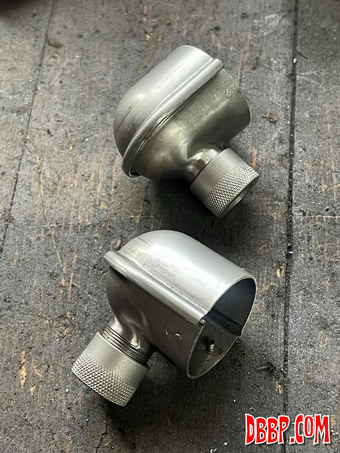
In the meantime Aad was welding the threaded "nipples"
to the bottom halves, cleverly using his lathe as a manipulator.
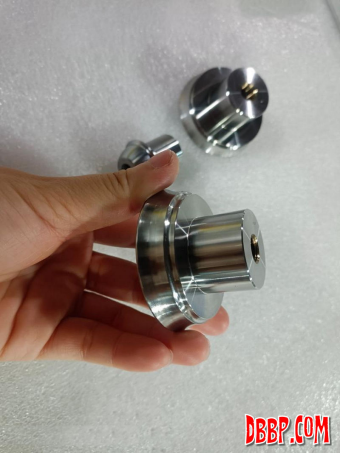
The strap with copper studs works as the ground and the little
brass tool I made holds the 2 parts together. The whole thing
rotates slowly while Aad holds the TIG torch, pretty clever guy! |


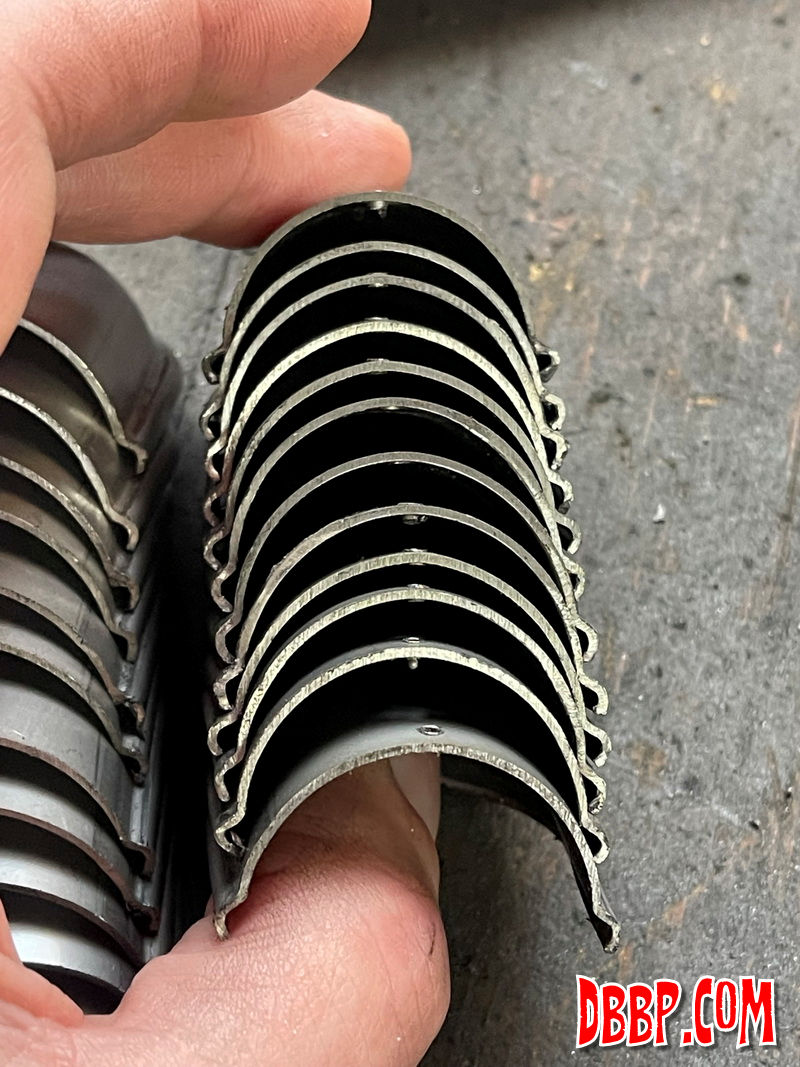
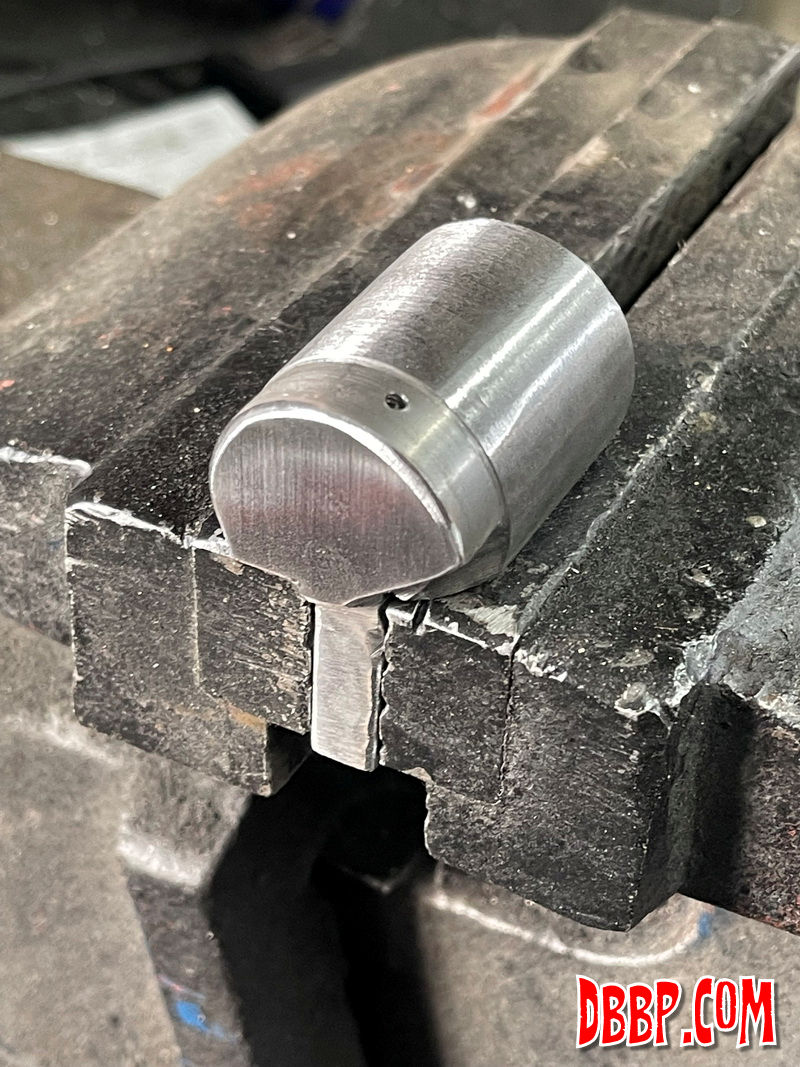
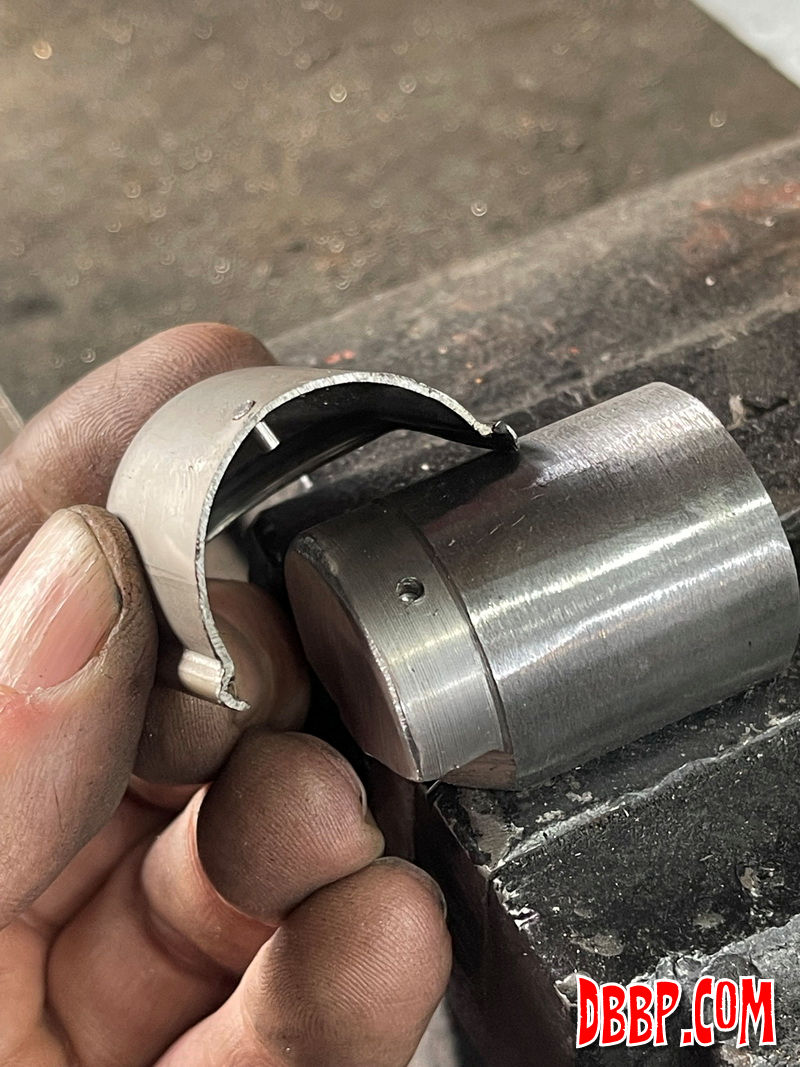
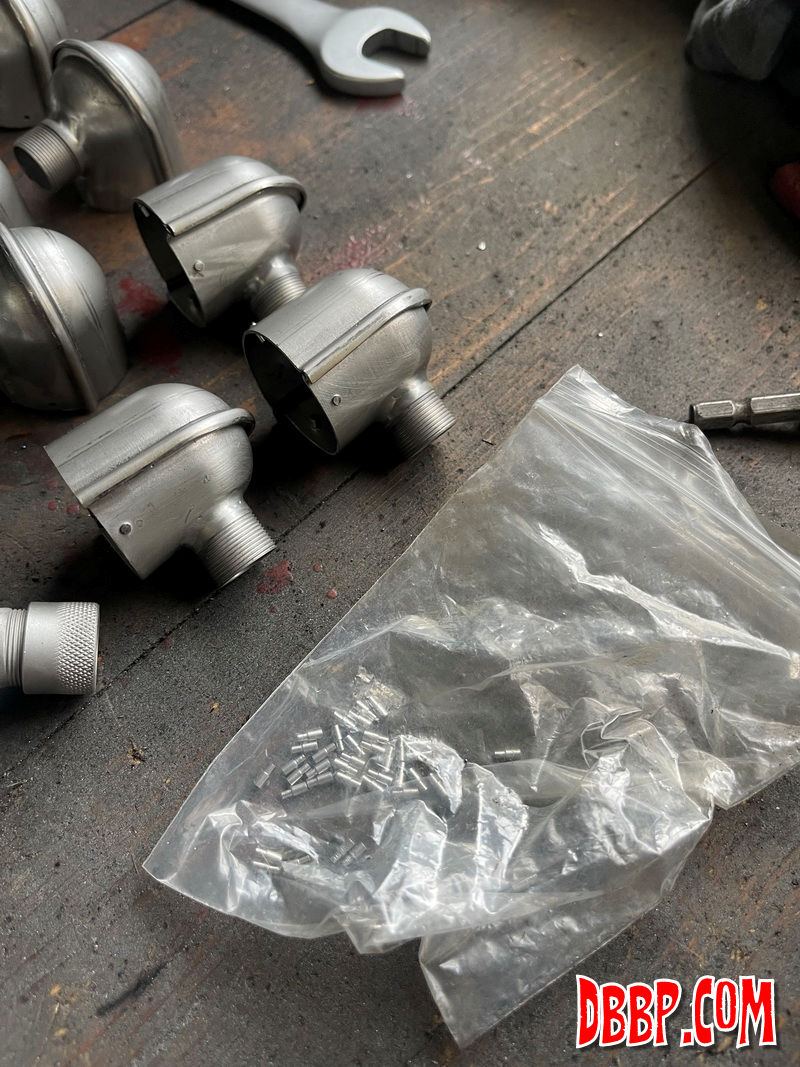
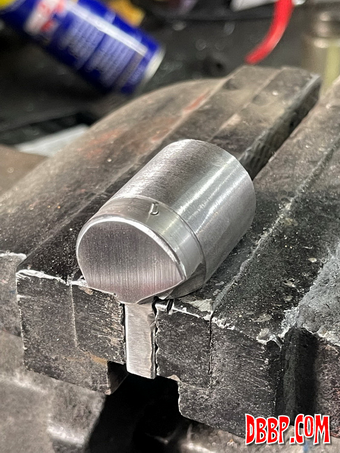
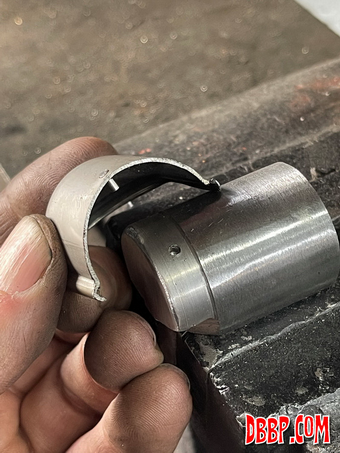
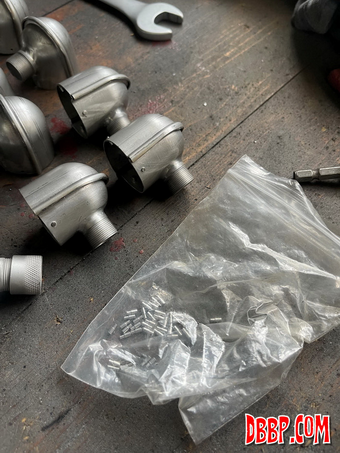
Next step was to assemble 3 little pins to each
set. I once again made a little tool that I can put in the bench
vice, I did this also the last time but could not find it haha.
The pins have a thick part and a thin part, the thin part goes
through the sheetmetal and is then hammered flat like a little
rivet. The little tool makes sure that the force of the hammer
is only on the thin part. |


After all the pins were installed I started on
the cables, these are made up out of several layers to get to
the same diameter as the stock ones. The outer layer is copper,
which is good marerial to solder. Left and right side have different
lengths. For soldering I use a simple jig that holds the parts
together and a 6 mm steel rod inside so that the cable is held
straight during soldering and to ensure that I will be able to
get the inner cable in there afterwards. Soldering is one of those
things that requires at least 3 hands normally, and after soldering
the parts need to be held very still while the solder cools, this
simple tool makes it a lot easier! |


|